
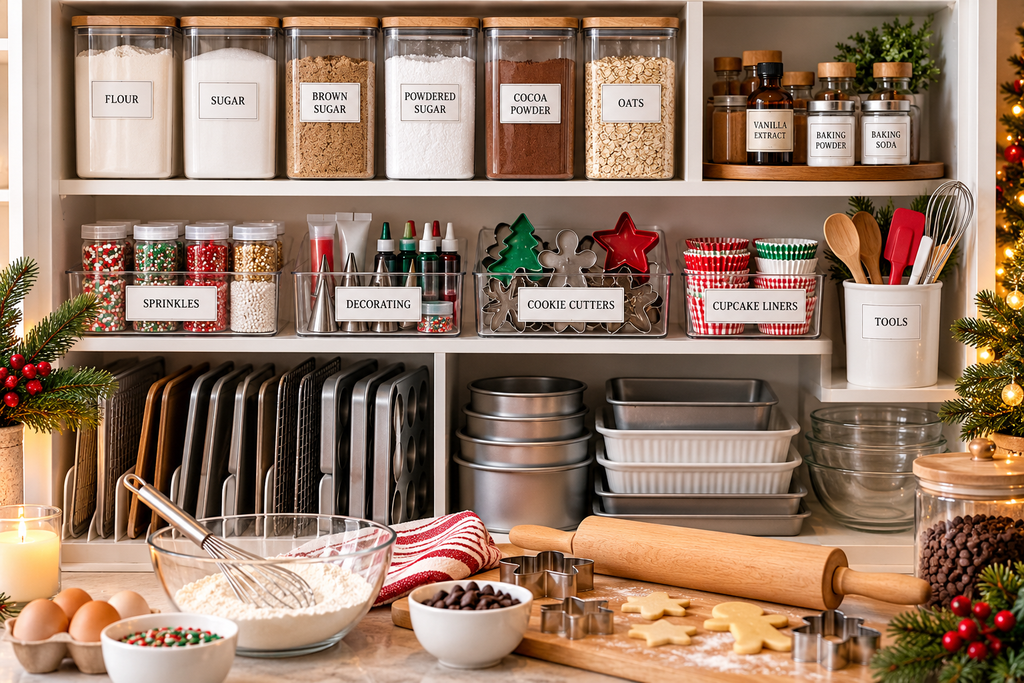
Holiday baking is one of the coziest parts of the season—but it can quickly become stressful when flour bags are overflowing from the pantry, cookie cutters are buried in drawers, and you can’t find the piping tips you bought last year.
Before you start stocking up on ingredients and planning your holiday cookie list, take some time to organize your baking supplies. A well-organized baking area makes it easier to see what you already have, find ingredients quickly, and enjoy the baking process without constantly digging through cabinets.
Here are practical ways to organize your baking supplies before holiday baking season.
1. Take Everything Out Before You Organize
The easiest way to organize baking supplies is to start with a clean slate.
Take everything out of the cabinets, drawers, pantry shelves, and bins where you keep baking items. Spread everything out so you can see exactly what you have.
This is especially useful because baking supplies tend to accumulate throughout the year. You may discover:
- Three bags of powdered sugar
- Half-used bags of flour
- Multiple sets of measuring spoons
- Cookie cutters you forgot about
- Extra cupcake liners
- Several bottles of the same extract
- Decorating supplies from previous holidays
Don’t try to organize everything while it’s still packed inside the cabinet. Emptying the space first makes it much easier to sort and decide what actually needs to stay.
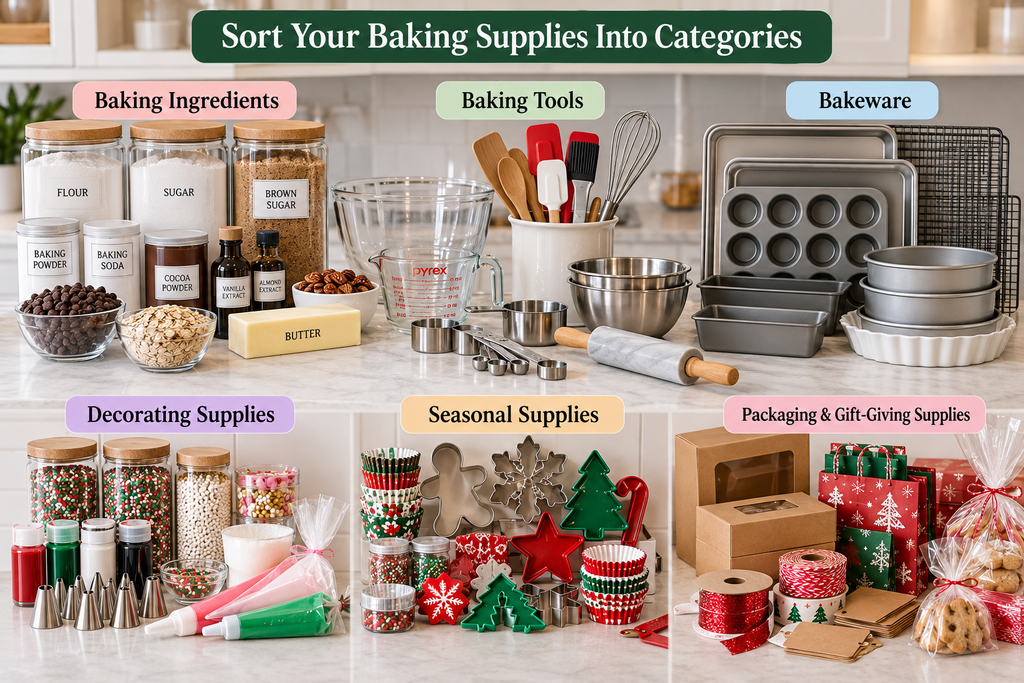
2. Sort Your Baking Supplies Into Categories
Once everything is out, start grouping similar items together.
Instead of organizing based on where something fits, organize based on how you use it.
Create categories such as:
Baking Ingredients
- Flour
- Granulated sugar
- Brown sugar
- Powdered sugar
- Baking powder
- Baking soda
- Cocoa powder
- Chocolate chips
- Nuts
- Oats
Baking Tools
- Measuring cups
- Measuring spoons
- Mixing bowls
- Whisks
- Spatulas
- Rolling pins
- Pastry brushes
- Bench scrapers
Bakeware
- Cookie sheets
- Cake pans
- Loaf pans
- Muffin tins
- Pie dishes
- Cooling racks
Decorating Supplies
- Sprinkles
- Piping bags
- Piping tips
- Food coloring
- Decorating brushes
- Icing tools
Seasonal Supplies
- Christmas cookie cutters
- Holiday cupcake liners
- Seasonal sprinkles
- Gift boxes
- Treat bags
- Ribbon and tags
Once everything is categorized, you’ll have a much better idea of how much storage space each group needs.
3. Check Expiration Dates
Before putting everything away, check the freshness of your baking ingredients.
Pay special attention to items that may have been sitting in your pantry for months:
- Baking powder
- Baking soda
- Yeast
- Spices
- Extracts
- Cocoa powder
- Nuts and seeds
- Decorating ingredients
Don’t automatically throw something away simply because it has been in your pantry for a while. Check the package date and storage instructions and use your judgment based on the product.
For ingredients you plan to use soon, create a small “Use First” section.
This helps prevent older ingredients from getting forgotten behind newly purchased supplies.
4. Create a Dedicated Baking Zone
If possible, give your baking supplies their own section of the kitchen.
This could be:
- One pantry shelf
- A kitchen cabinet
- A deep drawer
- A rolling cart
- A section of a kitchen island
- A combination of nearby shelves and drawers
The goal isn’t necessarily to have a huge baking pantry. The goal is to keep the supplies you use together.
For example, keep flour, sugar, baking powder, and other frequently used ingredients near your mixing bowls and measuring tools.
When everything has a designated home, putting things away after baking becomes much easier.
5. Store Dry Ingredients in Clear Containers
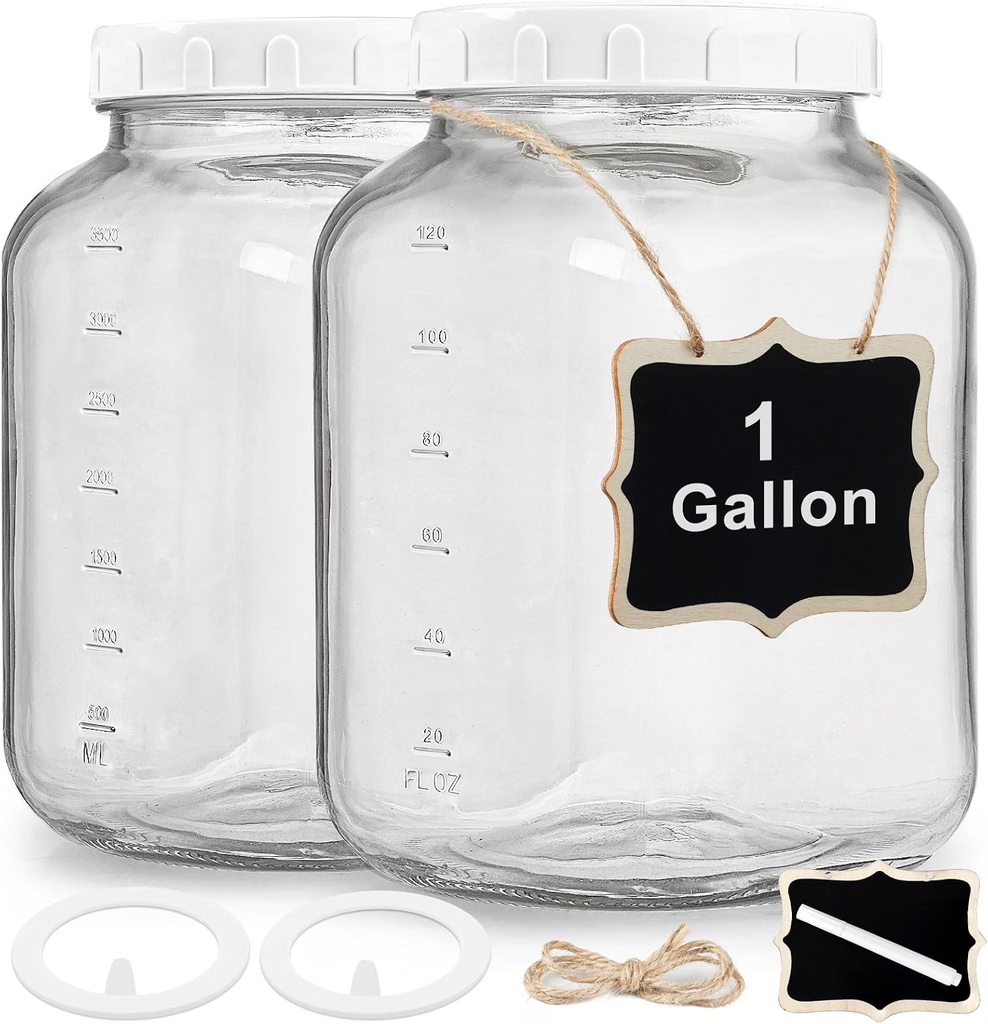
Clear airtight containers are one of the most useful upgrades for an organized baking area.
Instead of keeping partially opened bags of flour and sugar scattered throughout your pantry, transfer frequently used dry ingredients into appropriately sized food-storage containers.
Clear containers make it easier to:
- See how much you have left
- Identify ingredients quickly
- Keep packages contained
- Stack supplies neatly
- Reduce pantry clutter
Use containers that are properly sized for the amount you normally keep on hand. There’s no need to transfer every ingredient into a huge container if you only use a small amount.
Tip: Label containers even when they’re clear. It prevents confusion and makes your system look much more organized.
6. Label Everything Clearly
Labels make a surprisingly big difference, especially when several baking ingredients look similar.
Label containers with simple names such as:
- All-Purpose Flour
- Powdered Sugar
- Brown Sugar
- Cocoa Powder
- Chocolate Chips
- Sprinkles
- Cookie Cutters
- Decorating Supplies
For ingredients that you don’t use frequently, labels are especially helpful.
You can also add an opened date or “use first” note when useful.
If you use seasonal bins, label them clearly with names such as Holiday Baking or Christmas Decorating so you don’t have to open multiple containers to find what you need.
7. Organize Measuring Cups and Spoons
Measuring tools are some of the most frequently used baking supplies, so they should be easy to reach.
If you have a drawer available, use a drawer organizer to separate:
- Measuring cups
- Measuring spoons
- Small whisks
- Spatulas
- Scrapers
You can also hang measuring cups and spoons on hooks inside a cabinet door.
Keep the tools you use most often toward the front.
There’s no reason to dig through a drawer every time you need a tablespoon.
8. Store Baking Sheets Vertically
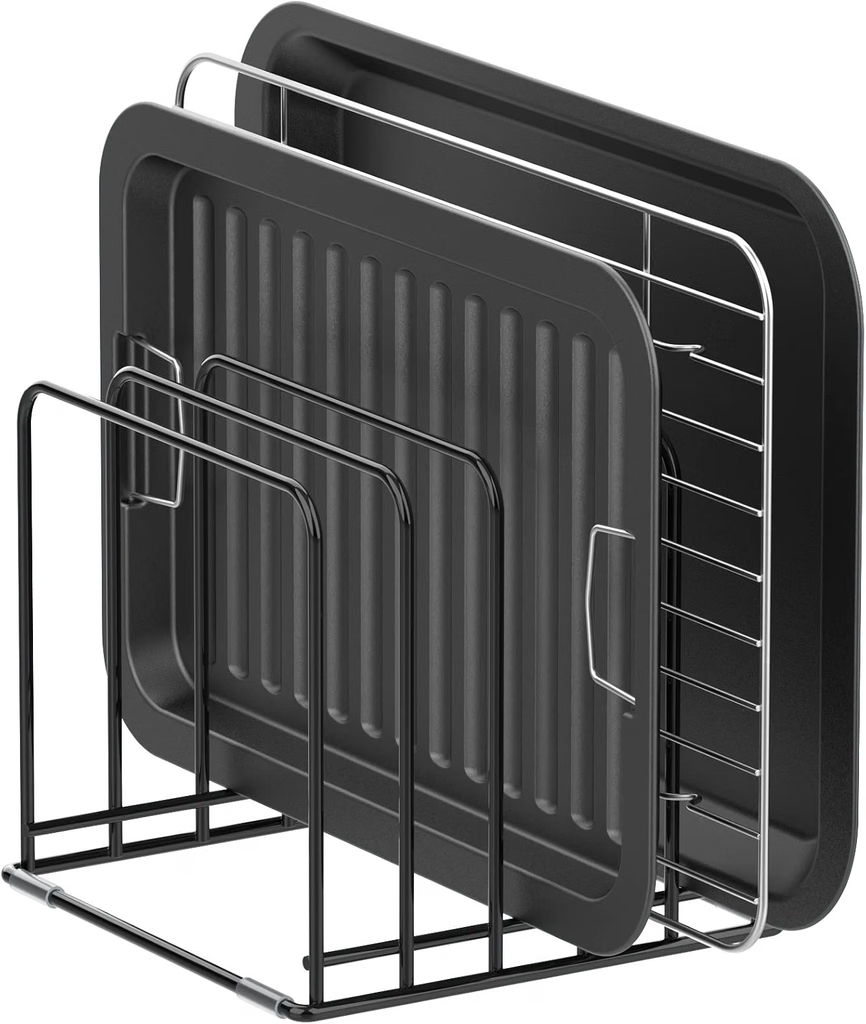
Baking sheets and cutting boards can quickly become difficult to manage when they’re stacked flat.
A simple way to improve accessibility is to store them vertically using a suitable divider or rack.
This allows you to pull out one baking sheet without lifting several others.
Use the same idea for:
- Muffin tins
- Cooling racks
- Cutting boards
- Pie plates
- Pizza pans
Vertical storage can be particularly useful in small kitchens because it makes better use of cabinet height and keeps bulky items easier to access.
9. Keep Cake Pans and Bakeware Together
Group similar bakeware so you don’t have to search the entire kitchen for the right pan.
For example, keep:
Cookie baking
- Cookie sheets
- Silicone mats
- Cooling racks
Cake baking
- Round cake pans
- Square pans
- Loaf pans
Cupcake baking
- Muffin tins
- Cupcake liners
- Decorating supplies
Pie baking
- Pie dishes
- Pastry tools
- Pie weights
You don’t necessarily need a separate cabinet for each category. Even simple grouping within the same cabinet can make a noticeable difference.
10. Give Holiday Decorating Supplies Their Own Container
Holiday decorating supplies are usually small, colorful, and easy to lose.
Instead of letting sprinkles, piping bags, cookie cutters, and food coloring spread across multiple drawers, put them together in one or two small bins.
Create a Holiday Decorating Bin containing things such as:
- Christmas cookie cutters
- Holiday sprinkles
- Piping bags
- Piping tips
- Food coloring
- Decorating tools
- Cupcake toppers
- Edible decorations
Use smaller containers inside the larger bin to prevent tiny items from becoming mixed together.
When holiday baking season arrives, you can simply pull out the entire bin.
11. Organize Cookie Cutters
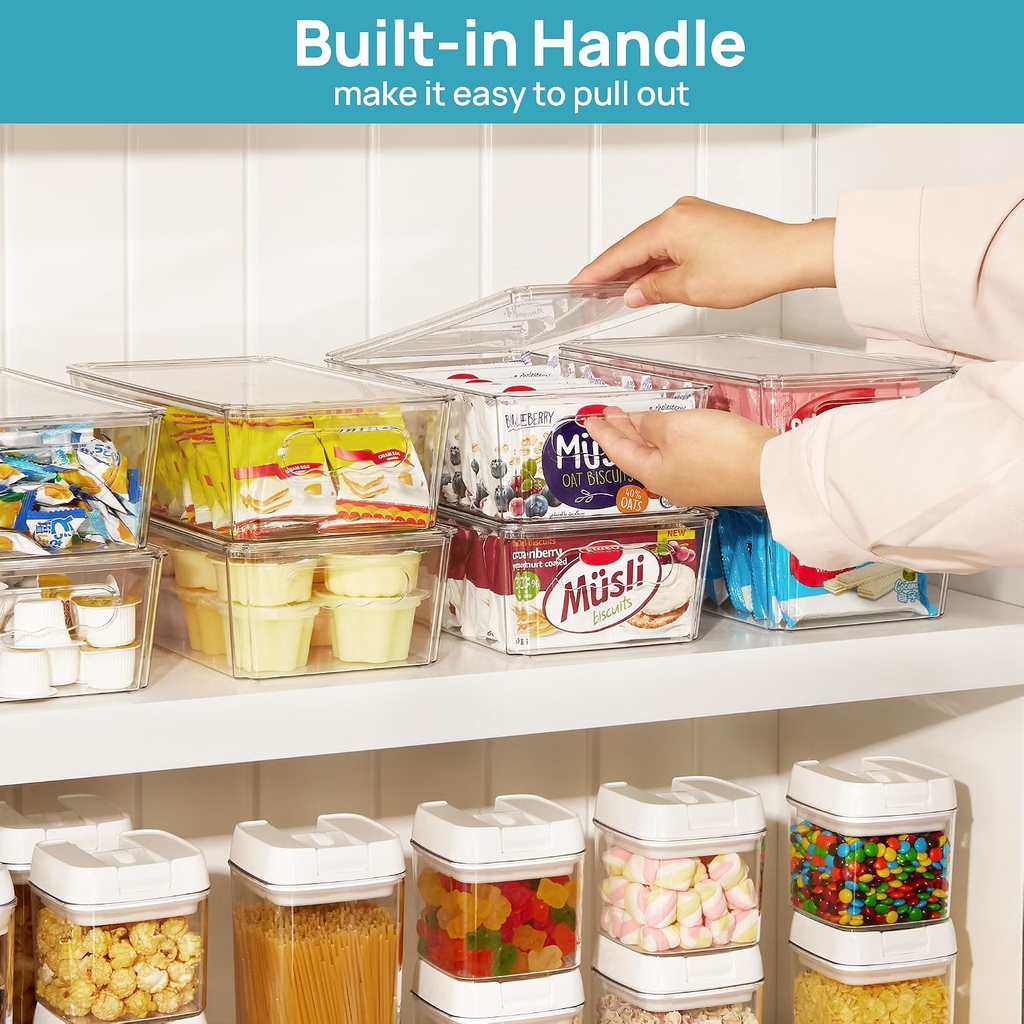
Cookie cutters can be surprisingly difficult to store because they come in so many shapes and sizes.
Instead of tossing them into a deep drawer, consider sorting them by theme.
For example:
- Christmas
- Halloween
- Valentine’s Day
- Birthday
- Basic shapes
Store seasonal cookie cutters together in labeled containers.
A small clear bin or zippered storage pouch can work well for keeping individual sets together.
12. Don’t Forget Cupcake Liners
Cupcake liners are another small item that can easily become pantry clutter.
Keep them in a small divided organizer or container.
You can organize them by:
- Color
- Pattern
- Holiday
- Size
Place your everyday liners in one accessible spot and seasonal liners in your holiday baking container.
This keeps decorative liners from taking over your regular kitchen storage.
13. Use a Lazy Susan for Small Ingredients
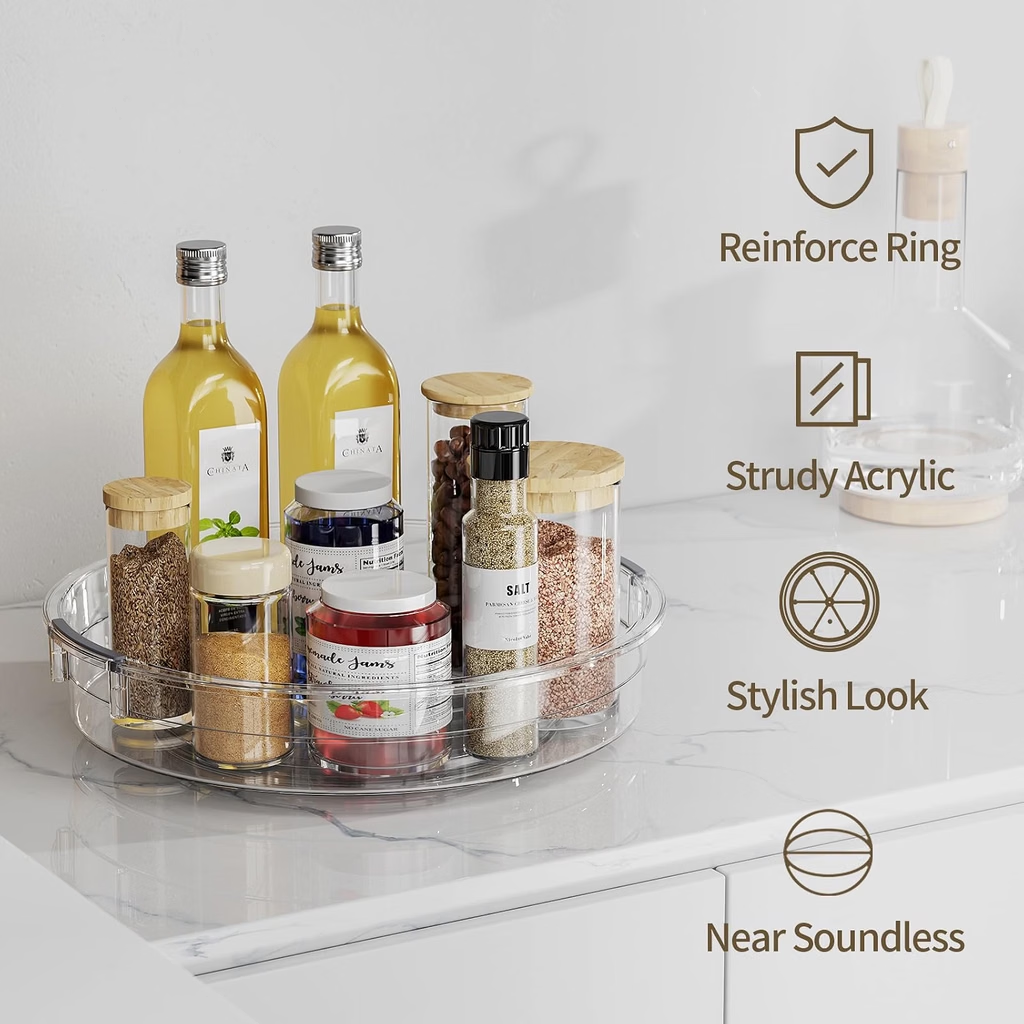
A lazy Susan can be helpful for ingredients and supplies that are frequently used but difficult to reach.
Depending on your storage space, you can use one for:
- Extracts
- Food coloring
- Sprinkles
- Spices
- Small jars
- Baking decorations
Instead of reaching behind several bottles, simply rotate the organizer.
This is particularly useful for deep pantry shelves.
14. Use Shelf Risers to Create More Space
If your baking ingredients are stored in a cabinet with a lot of vertical space, shelf risers can help.
They create an additional level so shorter containers don’t disappear behind taller ones.
For example, you can place:
Upper level: baking powder, baking soda, extracts, spices
Lower level: flour, sugar, cocoa powder, chocolate chips
The key is to keep frequently used items visible.
15. Create a Baking Inventory
Before your holiday grocery shopping begins, make a simple baking inventory.
Write down the ingredients and supplies you already have.
Your list might include:
- Flour
- Sugar
- Brown sugar
- Powdered sugar
- Baking powder
- Baking soda
- Vanilla
- Cocoa powder
- Chocolate
- Nuts
- Spices
- Sprinkles
- Food coloring
- Parchment paper
- Cupcake liners
Then mark each item as:
Have: Already stocked
Low: Need to buy soon
Missing: Need to purchase
This simple step can save you from buying duplicates.
16. Keep a “Holiday Baking” Shopping List
Once your inventory is complete, create a separate shopping list specifically for holiday baking.
Divide it into sections:
Pantry Ingredients
Flour, sugar, cocoa, spices, baking powder, and baking soda.
Refrigerated Ingredients
Butter, eggs, milk, cream, and other recipe-specific ingredients.
Chocolate & Decorations
Chocolate chips, candy melts, sprinkles, icing, and food coloring.
Supplies
Parchment paper, cupcake liners, storage containers, and packaging.
This makes grocery shopping much more efficient because you’re shopping from an organized list rather than trying to remember everything from individual recipes.
17. Store Parchment Paper, Foil, and Liners Together
Flat rolls and baking liners can create awkward pantry clutter.
Keep parchment paper and other baking essentials together in a dedicated drawer or section.
If you have space, you can also store:
- Parchment paper
- Silicone baking mats
- Cupcake liners
- Wax paper
- Food-storage bags
Keeping these supplies together means you know exactly where to go when you’re preparing a baking tray.
18. Separate Everyday Baking Supplies From Seasonal Supplies
Not every baking item needs to stay within easy reach all year.
If you only use certain items during the holidays, put them into a labeled seasonal storage container.
For example:
Everyday Baking
- Measuring cups
- Mixing bowls
- Flour
- Sugar
- Basic baking pans
Holiday Baking
- Christmas cookie cutters
- Seasonal sprinkles
- Holiday packaging
- Specialty decorations
- Festive cupcake liners
This prevents seasonal items from taking up valuable everyday kitchen space.
19. Make a Small Holiday Baking Station
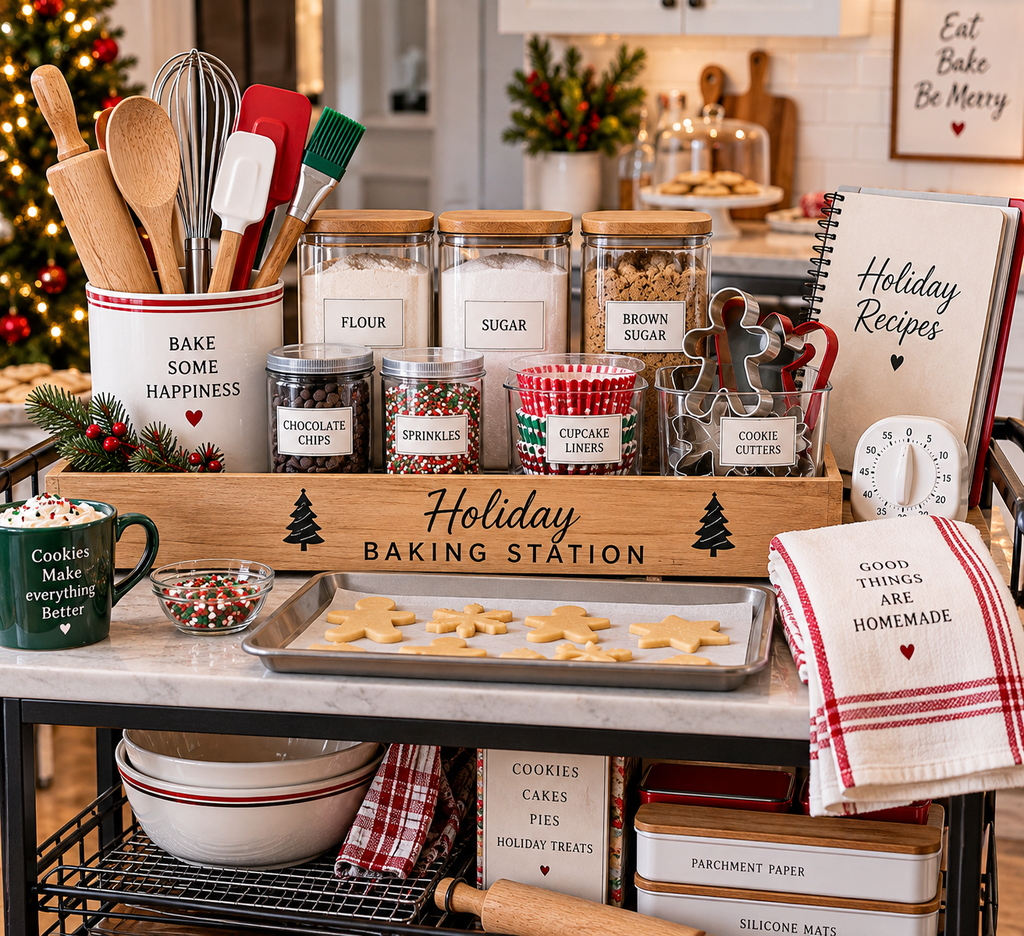
If you bake frequently during the holidays, consider creating a temporary baking station.
You could use a tray, basket, or rolling cart to hold the supplies you reach for repeatedly.
Your baking station might include:
- Measuring cups
- Measuring spoons
- Spatulas
- Whisk
- Rolling pin
- Cookie cutters
- Parchment paper
- Favorite decorating tools
When baking is finished, simply return the items to their designated storage locations.
This can make busy baking days feel much more manageable.
20. Use Bins for Small and Odd-Shaped Items
Small baking tools are often responsible for messy drawers.
Use small bins or containers to group items such as:
- Piping tips
- Cookie cutters
- Pastry tools
- Food coloring
- Decorating brushes
- Cake decorating accessories
Rather than throwing everything into one large container, create smaller categories.
For example:
Bin 1: Piping & Icing
Bin 2: Cookie Decorating
Bin 3: Holiday Decorations
Bin 4: Specialty Tools
This makes finding what you need much faster.
21. Store Ingredients Based on Frequency of Use
Not every ingredient needs to be stored at eye level.
Put the ingredients you use constantly in the easiest-to-reach locations.
For example:
Easy access: flour, sugar, baking powder, vanilla
Middle storage: cocoa powder, chocolate chips, oats
Higher or lower storage: specialty ingredients used occasionally
This approach keeps your baking area functional instead of simply making it look neat.
22. Don’t Overbuy Just Because Holiday Baking Is Coming
An organized baking area should help you shop smarter—not encourage you to buy more.
Before purchasing another bag of flour or container of sprinkles, check your inventory.
You may already have enough.
This is one of the biggest advantages of organizing before the holiday season: you can see what you actually own.
23. Make Baking Supplies Easy to See
Visibility is one of the most important parts of organization.
If supplies are hidden behind piles of other items, you’re more likely to forget about them.
Whenever possible:
- Use clear containers
- Avoid overly deep stacks
- Label bins
- Group similar items
- Keep frequently used supplies at eye level
- Store small items in transparent containers
A beautiful baking pantry isn’t useful if you still have to dig through it.
24. Do a Quick Reset After Every Baking Session
Once your baking area is organized, try to maintain it throughout the season.
After each baking session:
- Return ingredients to their assigned locations.
- Wash and dry tools before storing them.
- Put decorating supplies back into their containers.
- Wipe down the baking area.
- Check whether anything needs to be restocked.
Taking five minutes to reset your space can prevent the baking area from becoming overwhelming again.
Holiday Baking Organization Checklist
Before the holiday baking rush begins, make sure you’ve completed these tasks:
☐ Empty baking cabinets and drawers
☐ Sort ingredients and tools into categories
☐ Check ingredient freshness
☐ Remove items you no longer need
☐ Transfer frequently used dry ingredients into airtight containers
☐ Label storage containers
☐ Organize measuring cups and spoons
☐ Store baking sheets vertically
☐ Group bakeware by type
☐ Organize cookie cutters
☐ Create a holiday decorating bin
☐ Sort sprinkles and decorating supplies
☐ Create a baking inventory
☐ Make your holiday shopping list
☐ Separate seasonal supplies from everyday supplies
☐ Restock essential ingredients
☐ Create an easy-to-maintain baking zone
Final Thoughts
Holiday baking is much more enjoyable when your kitchen is ready before the first batch goes into the oven. Instead of waiting until you’re surrounded by flour, mixing bowls, cookie cutters, and half-open ingredient packages, spend a little time organizing everything ahead of the season.
Focus on categories, visibility, accessibility, and simple storage systems. Clear containers can make ingredients easier to identify, bins can contain small decorating supplies, and vertical storage can make bulky bakeware much easier to access.
Most importantly, organize before you shop. Knowing what you already have can prevent duplicate purchases and help you create a realistic holiday baking budget.
With a little preparation now, you’ll be able to spend less time searching through cabinets and more time enjoying cookies, cakes, pies, and all the delicious traditions that make holiday baking special.
Read more: Ultimate Pantry & Kitchen Organization Guide — Best Products From Amazon